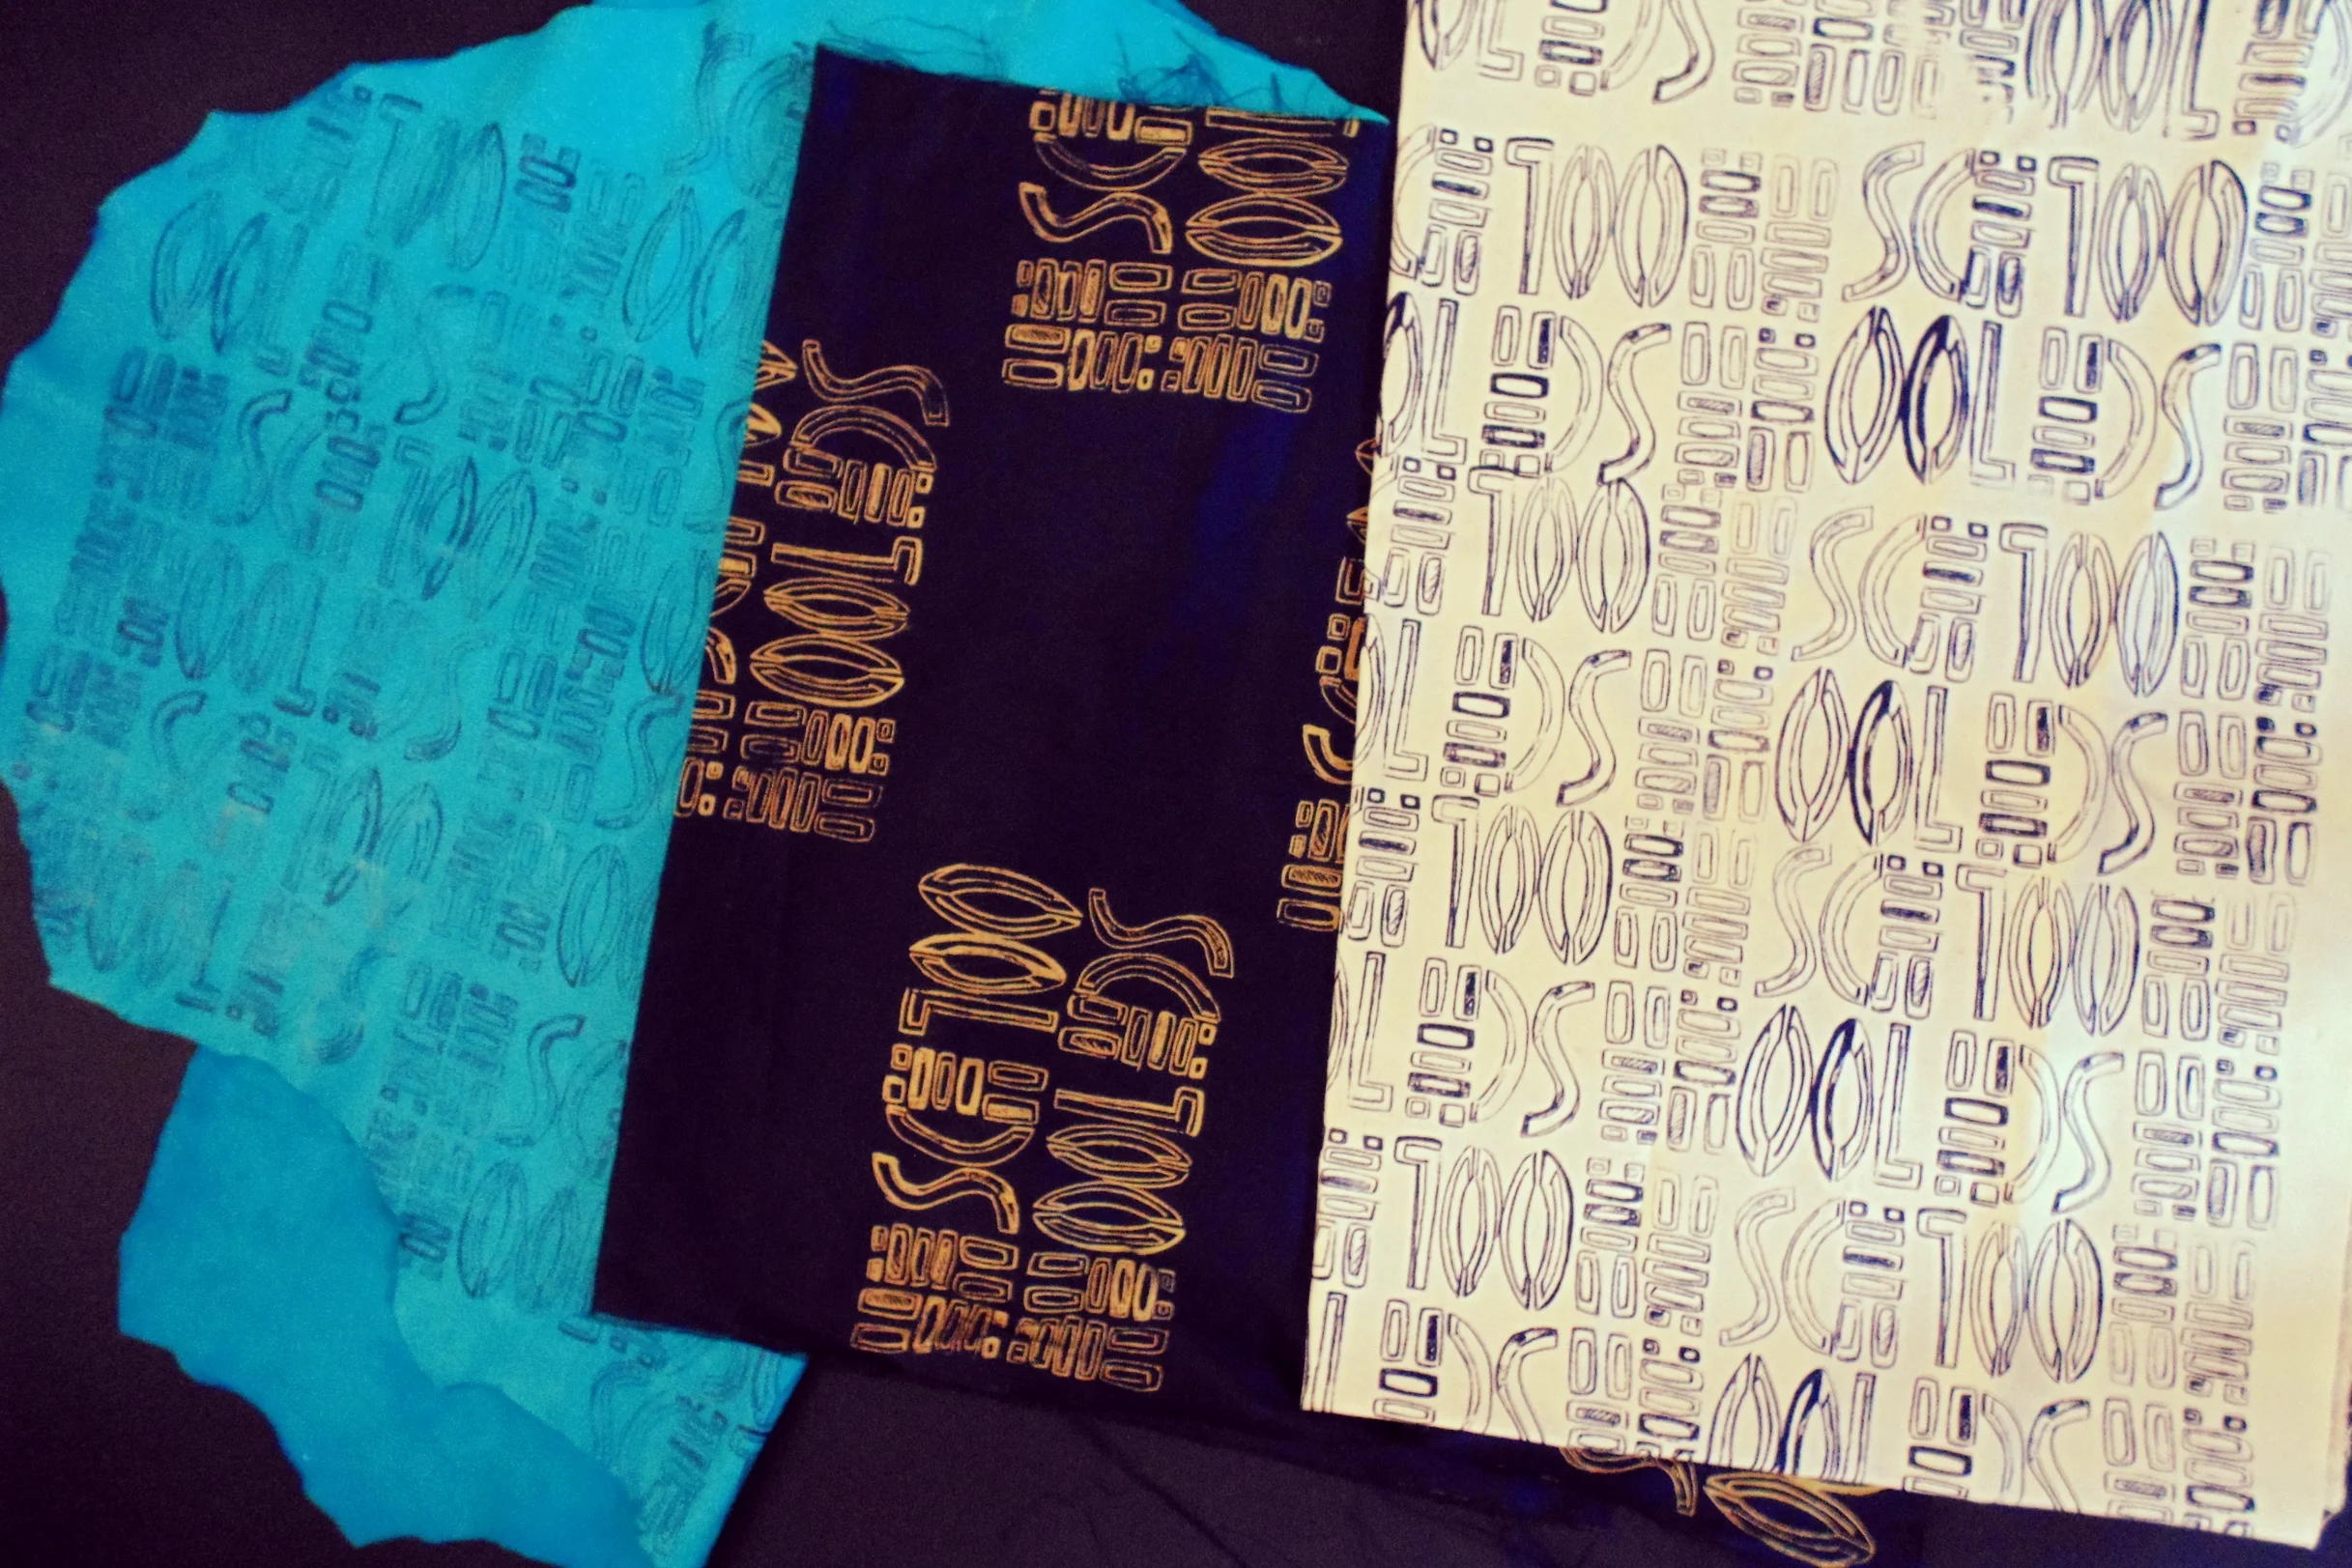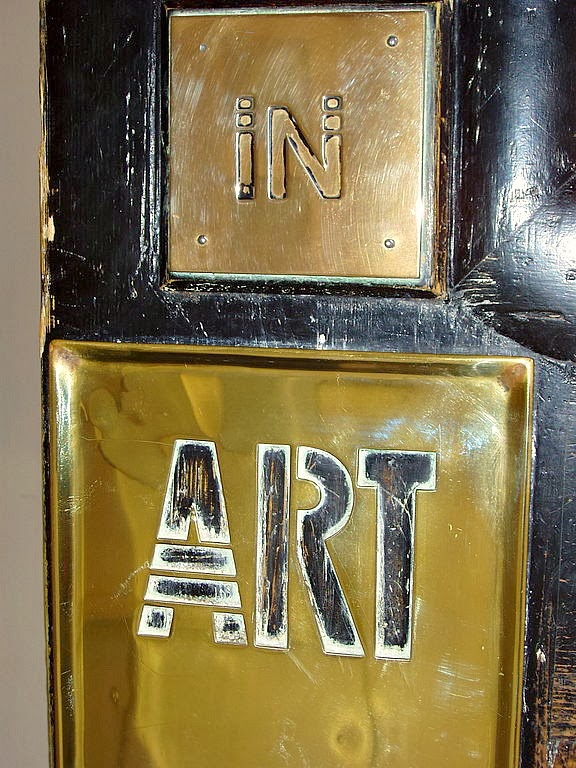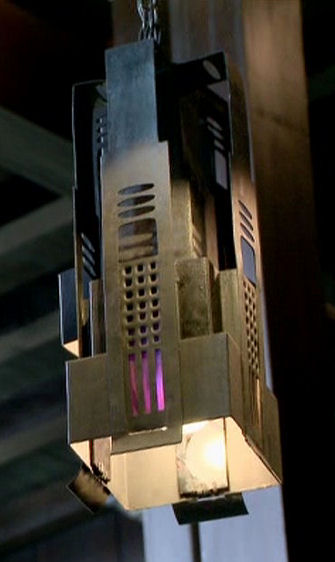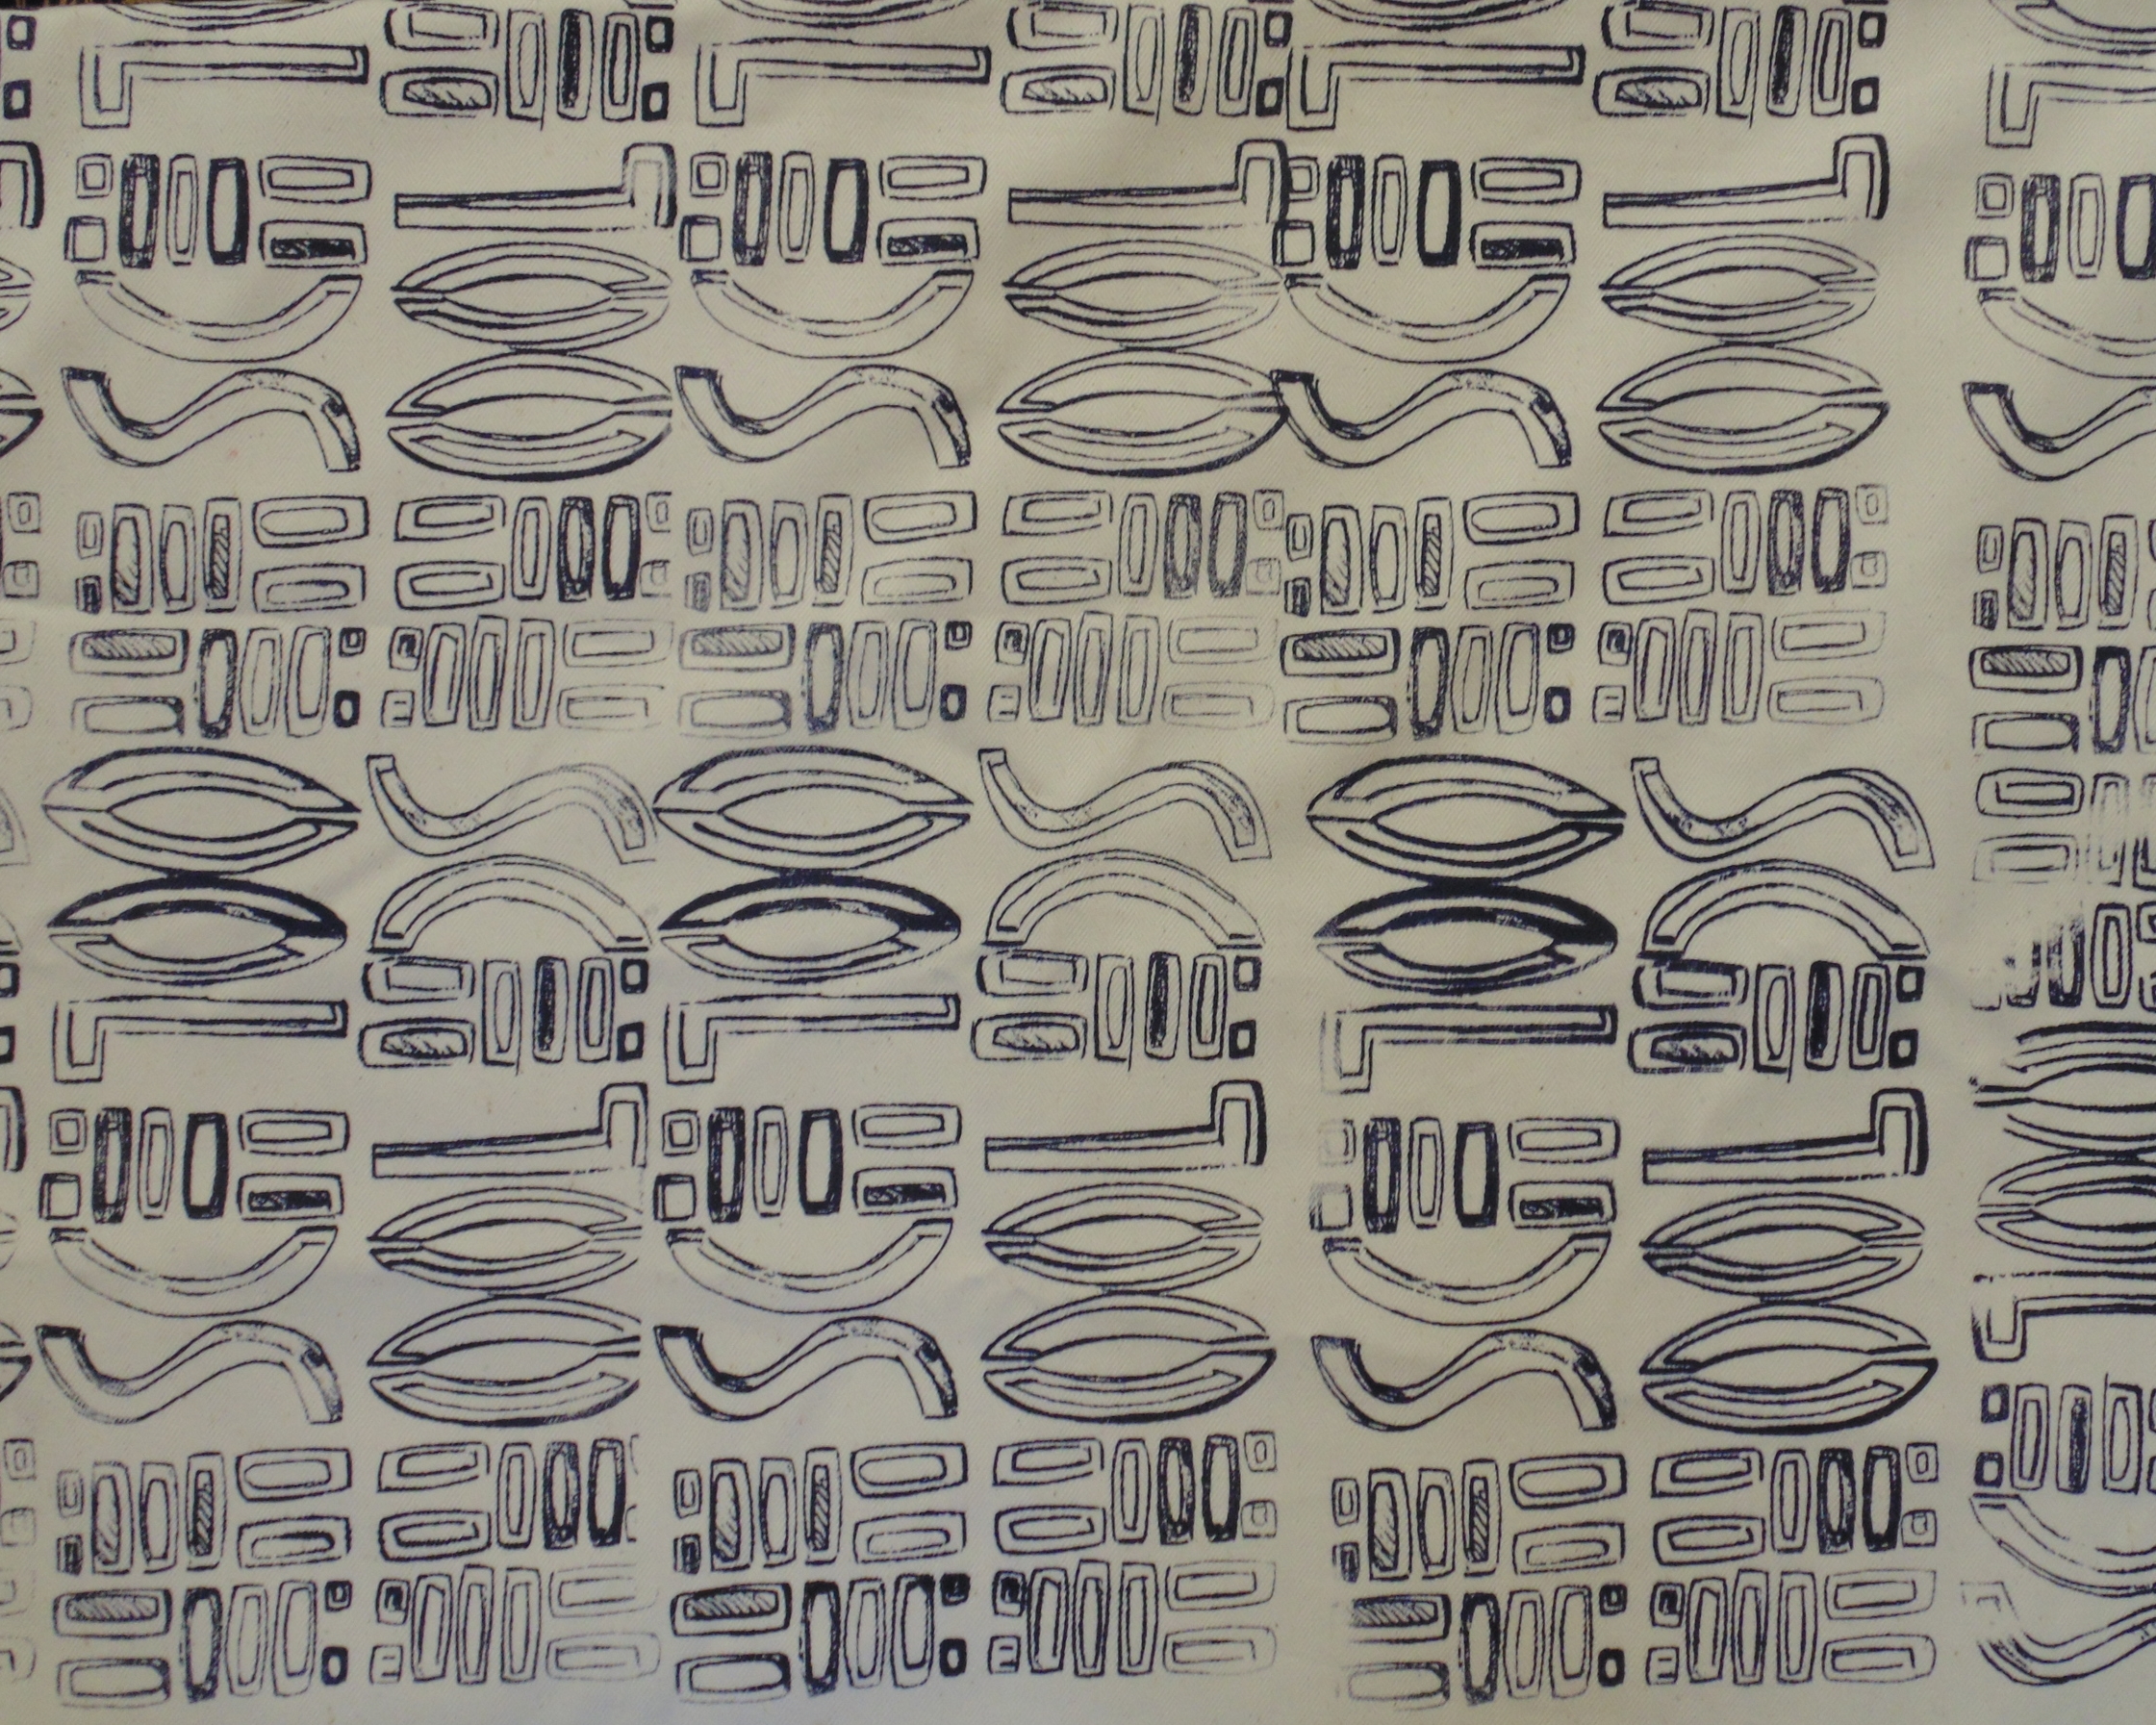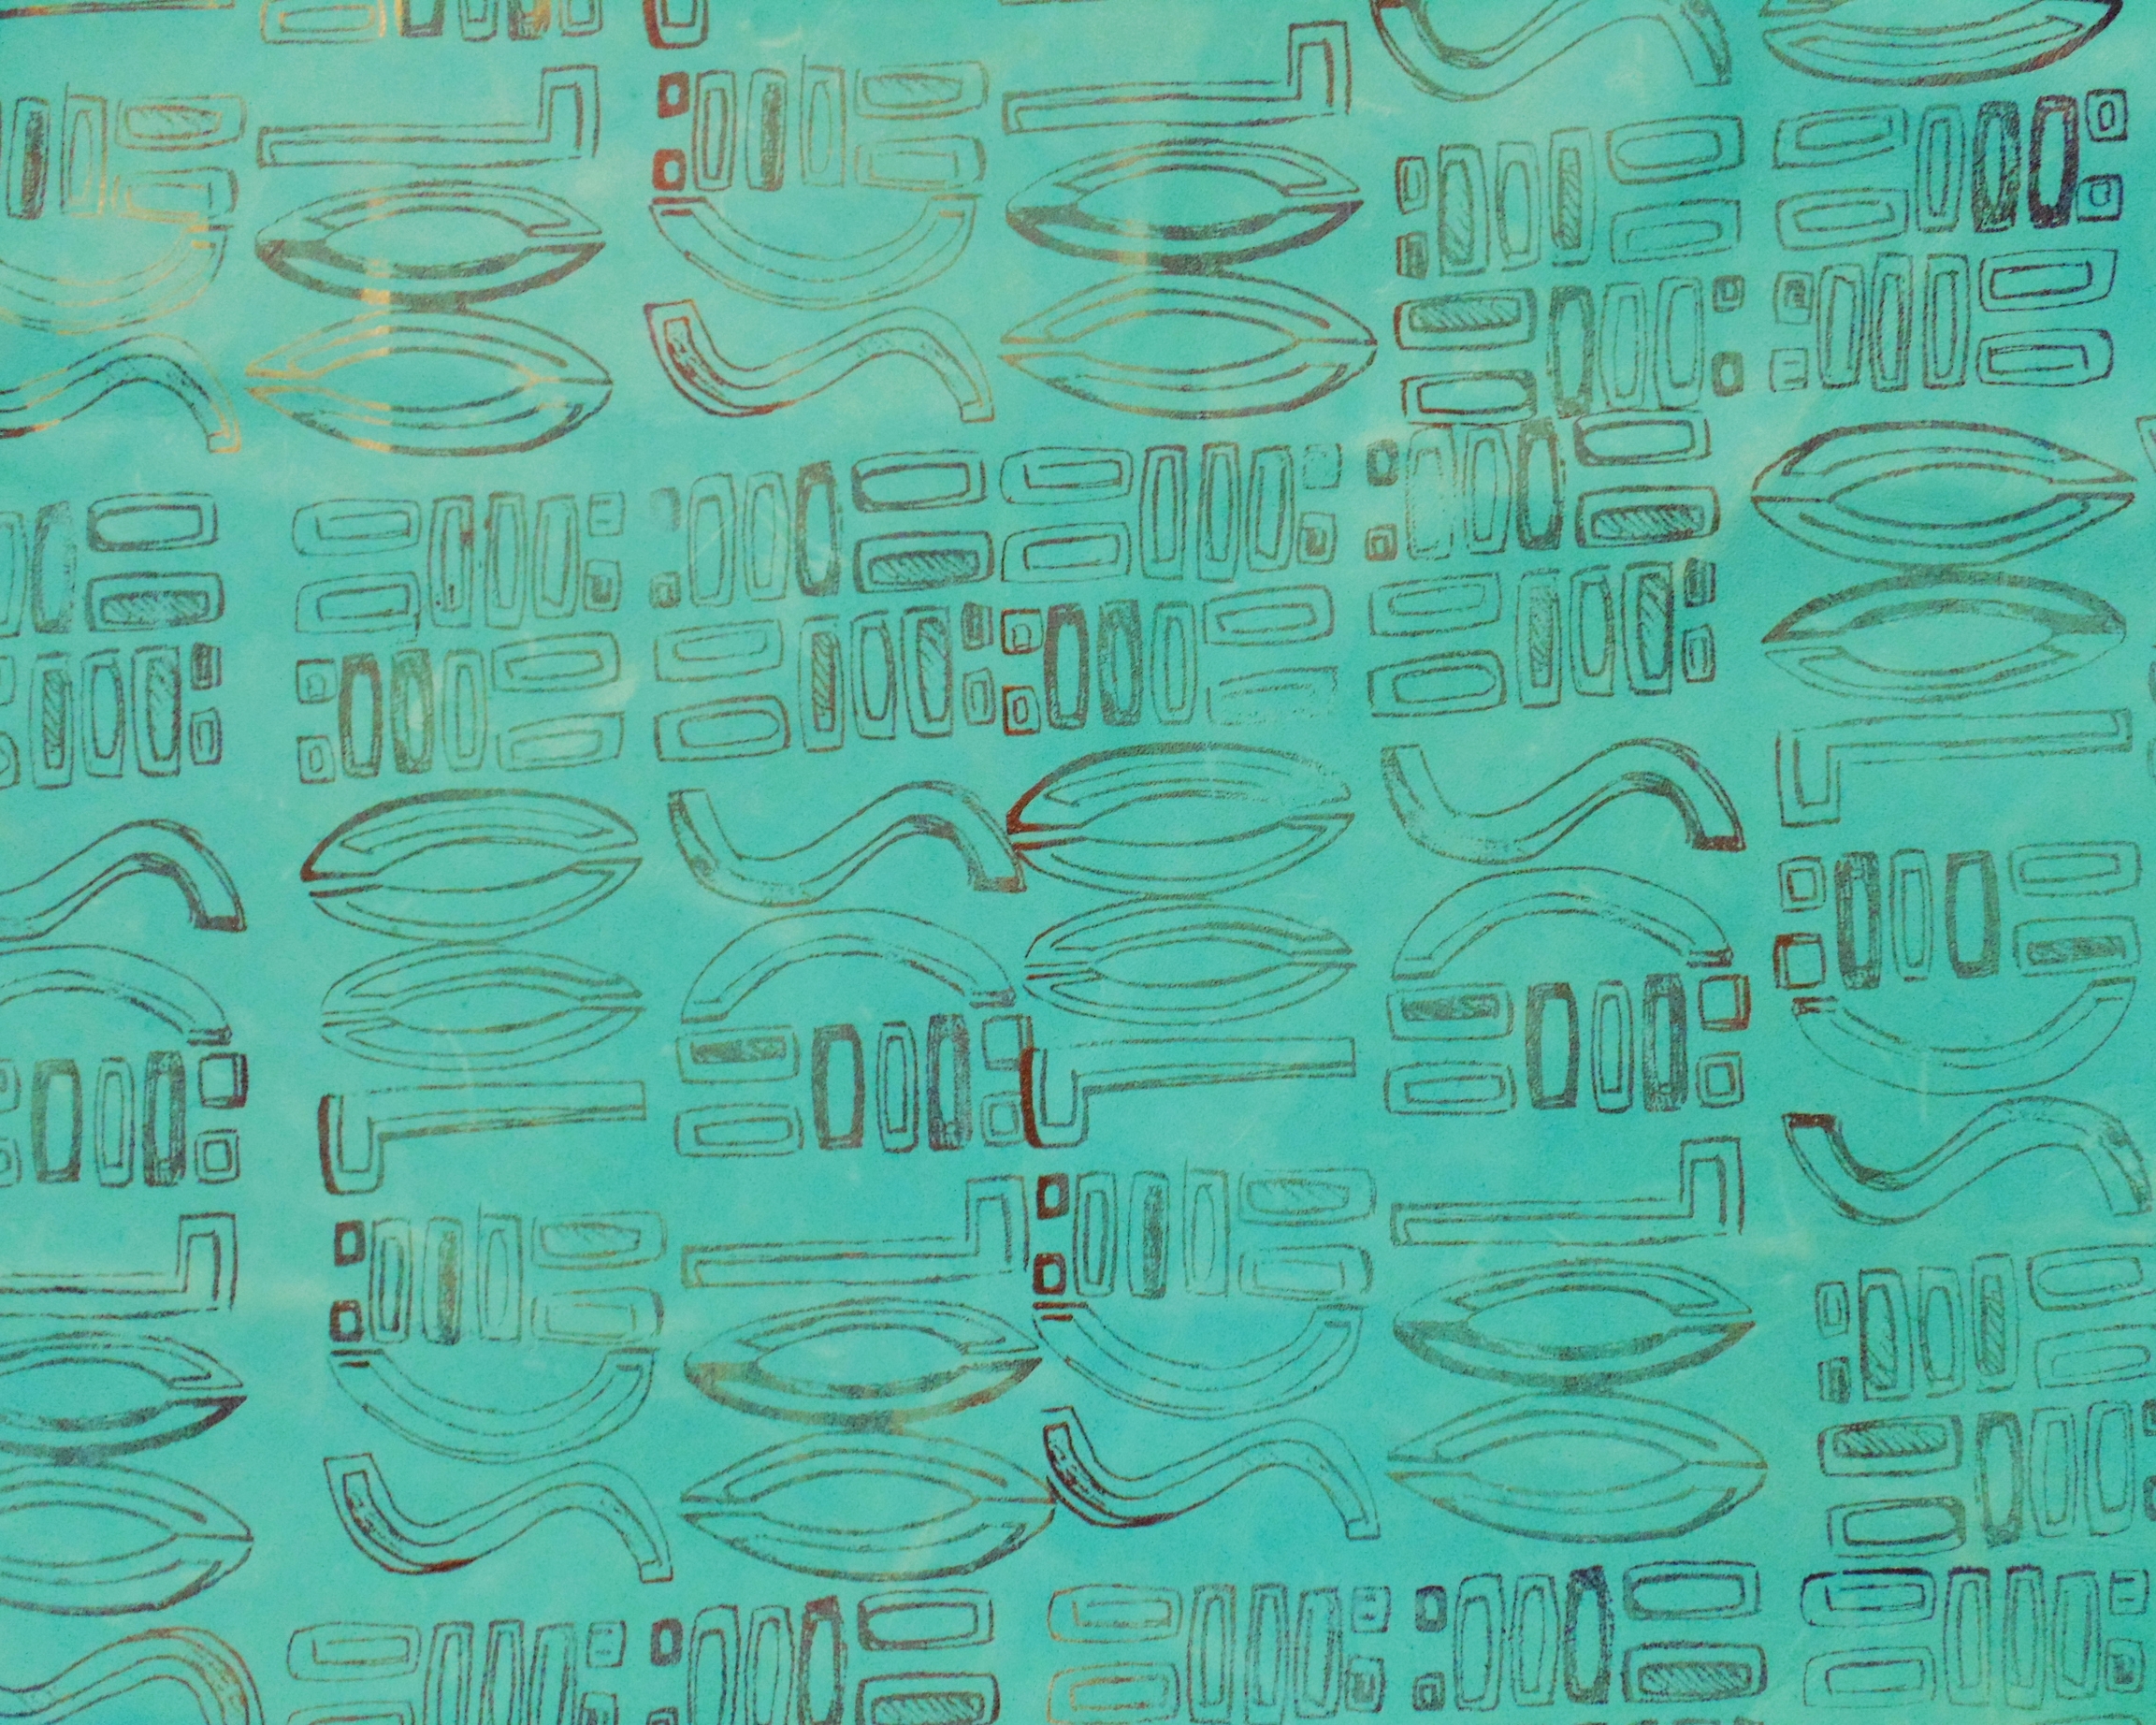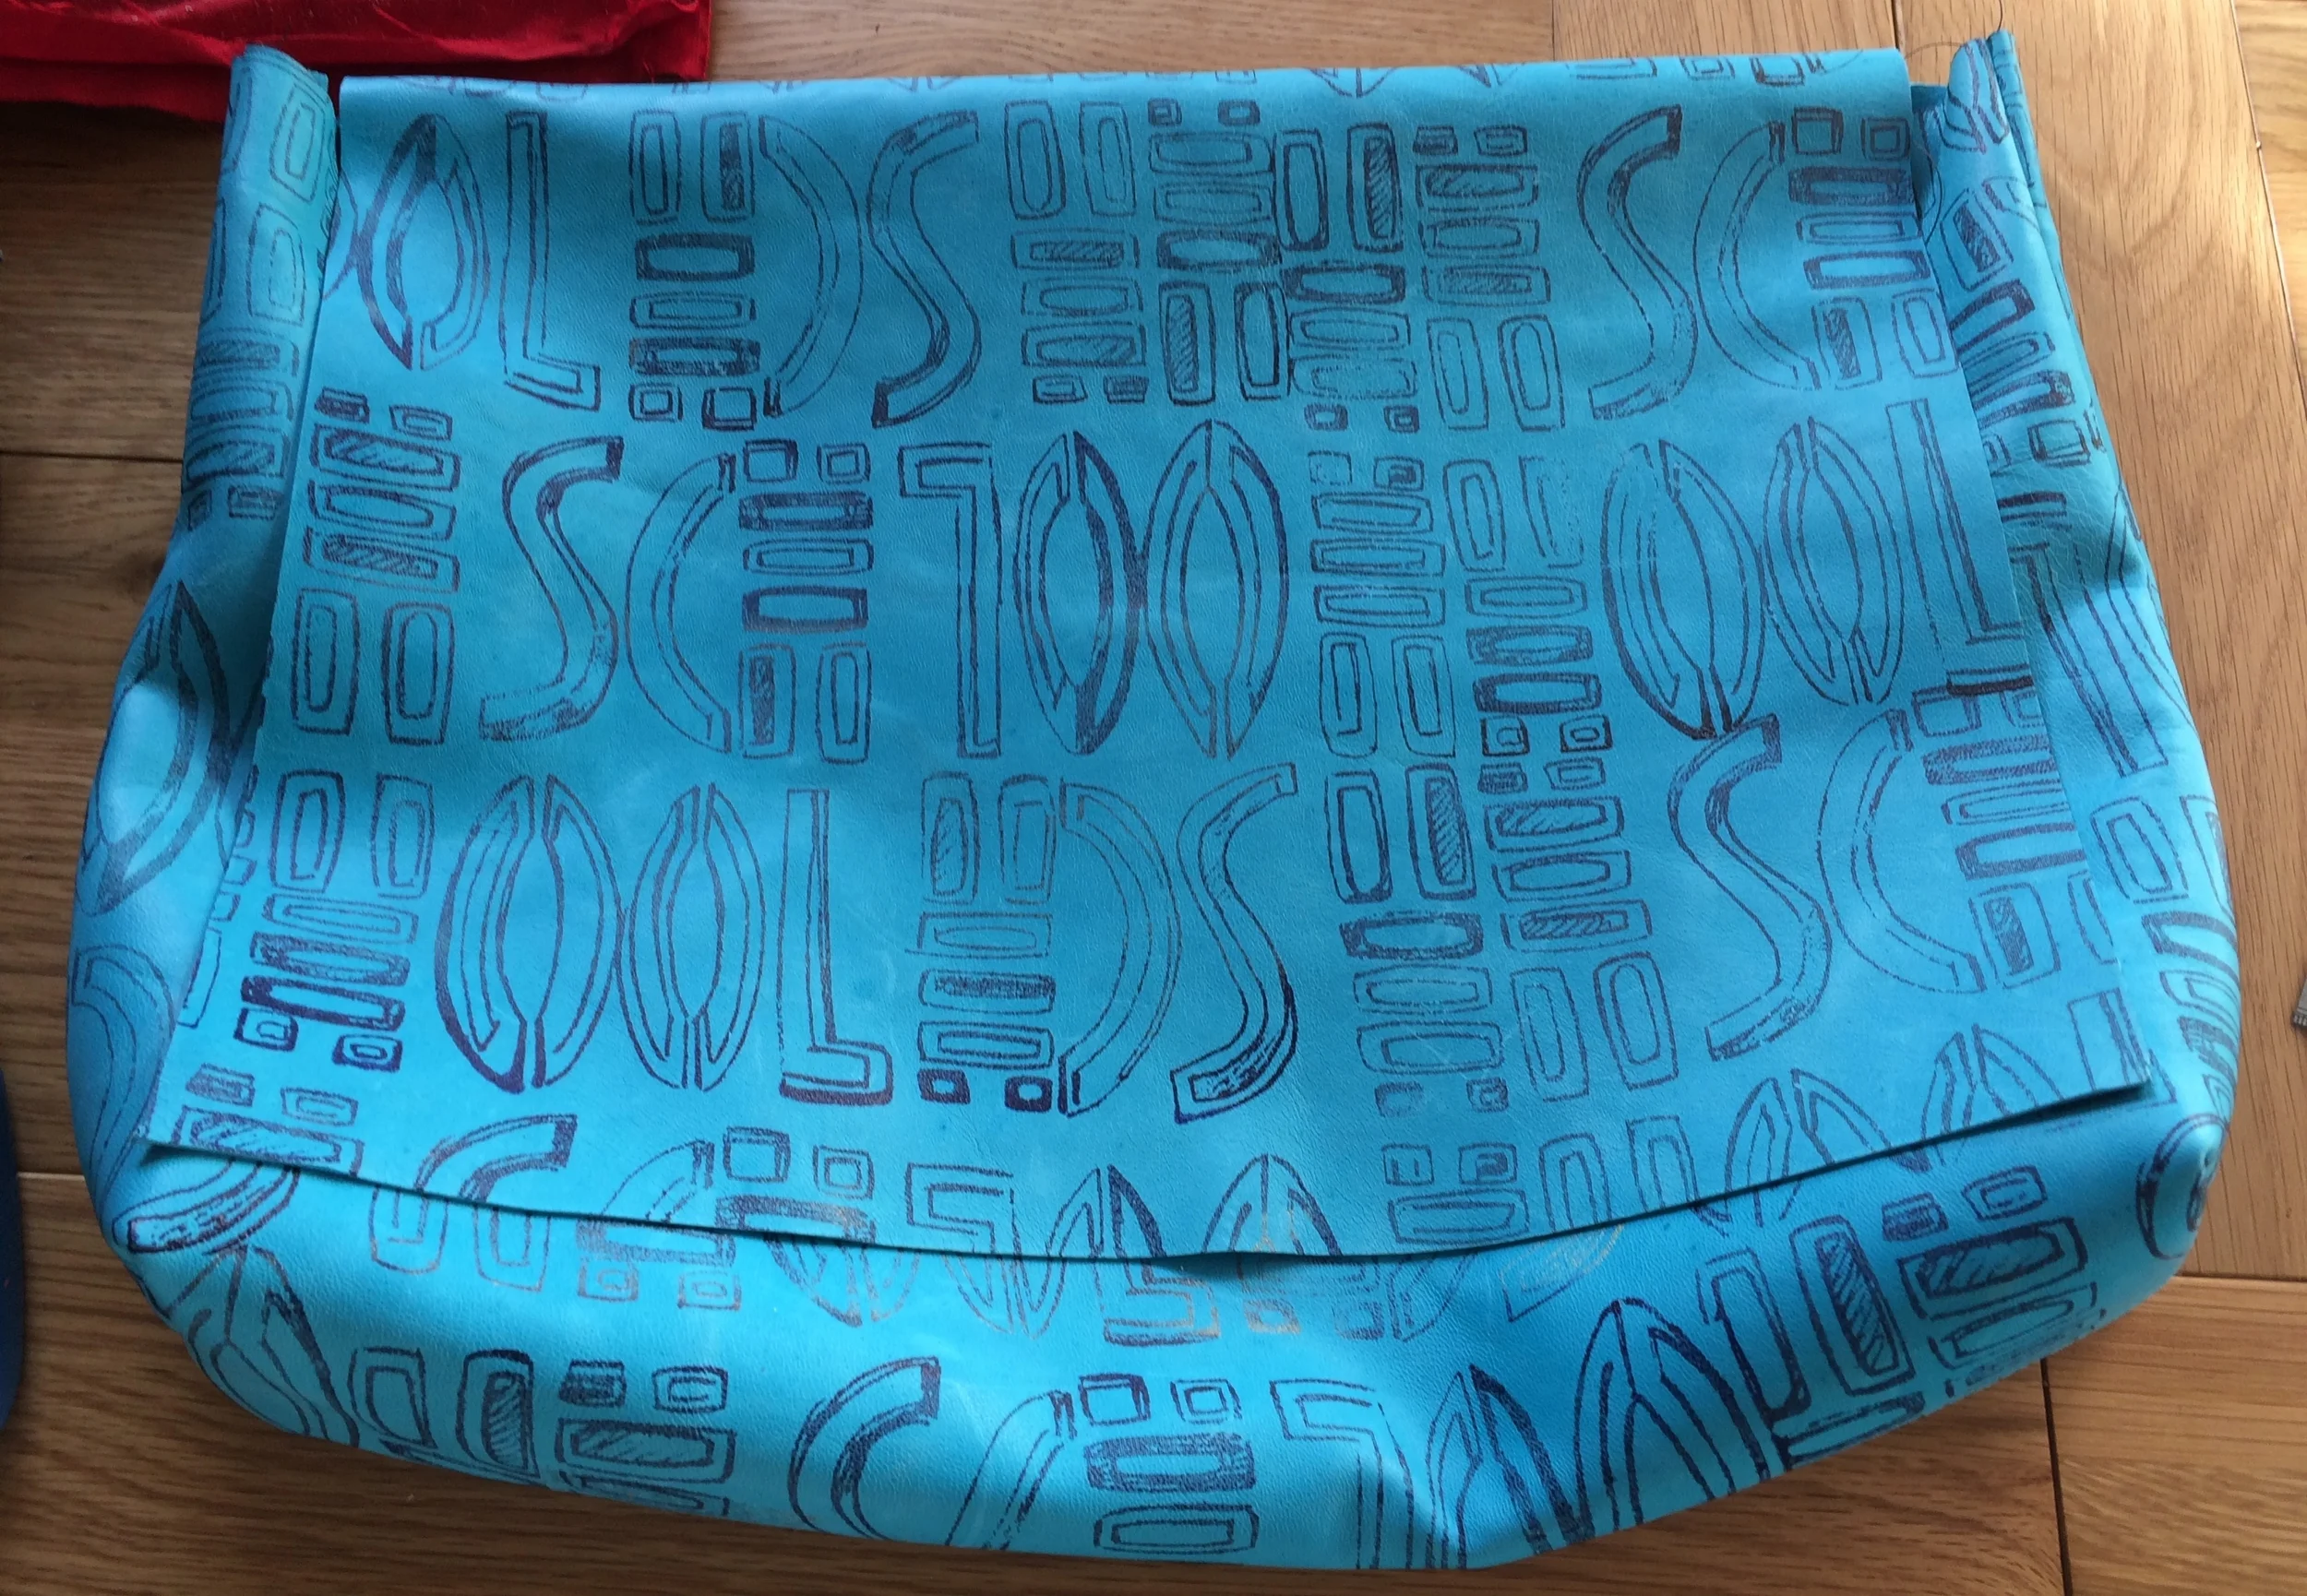
I have been waiting ages to complete this clutch bag. I bought this butter-soft turquoise leather hide at one of the Knit and Stitch craft shows in London well over a year ago. The hide was only £10 as it was covered with light scratch marks, so it was the perfect candidate for trying out some screen printing on leather. I used my Art Deco / Charles Rennie Mackintosh inspired screen design with some navy blue screen printing ink (Jacquard professional) so it would show up against the bright turquoise leather. Once I had screen printed over the entire surface of the leather with, most of the imperfections were well hidden by the intricate design.
The leather hide was quite thin (possibly intended for garment making rather than bags). Although I wanted a slouchy finish to my clutch bag, it needed a bit more body/structure. I picked up something called "spacer" material from the Cloth House clearance sale on Berwick Street in London ages ago (I'm told that it is used to add structure in garment making so it seemed like the right choice).
After a nice few warm sunny days this week, I thought Spring had finally sprung, but the grey clouds and colder temperatures have returned! So despite finally finishing this little bag, it definitely goes with more of my summer clothes so will have to wait a little longer for its first big outing!

The all important details:
Bag pattern: I designed the patten pieces myself using a "T- shaped" bag construction. I find this one of the easiest bag constructions to design and make as you only need one pattern piece for the body of the bag, and (if your bag needs one) a separate piece for a flap...meaning minimal stitching time, which is great when you're using a domestic sewing machine that often struggles with leather;
- Tips for sewing leather using a domestic machine: I changed my sewing machine footer to a walking footer and changed the needle to a leather needle; I adjusted the tension on my machine and used bonded nylon thread rather than regular thread (as is commonly used for upholstery - Coats is a great brand);
- Magnetic closure: I used a set of hidden magnets to secure the bag closed, the first stitched into the lining of my bag and the second hidden within the decorative detailing on the front of the bag flap;
- Adding structure using "Spacer" material: this was my first attempt at using this material which looks like layers of webbing or netting. It bends and moves easily which is helpful when turning the bag inside out, but keeps its shape.
- Using Rivets: something I've noticed with a t-shape construction, is that the side gussets poke out past the end of the flap....which isn't very nice to look at. Rivets are usually used to secure handles to bags, but a couple of carefully positioned rivets pinching the side gussets inwards worked perfectly to hide the excess side gusset. Perhaps next time, I won't use the spacer material for the entire the bag and only use it to add extra body to the front and back.
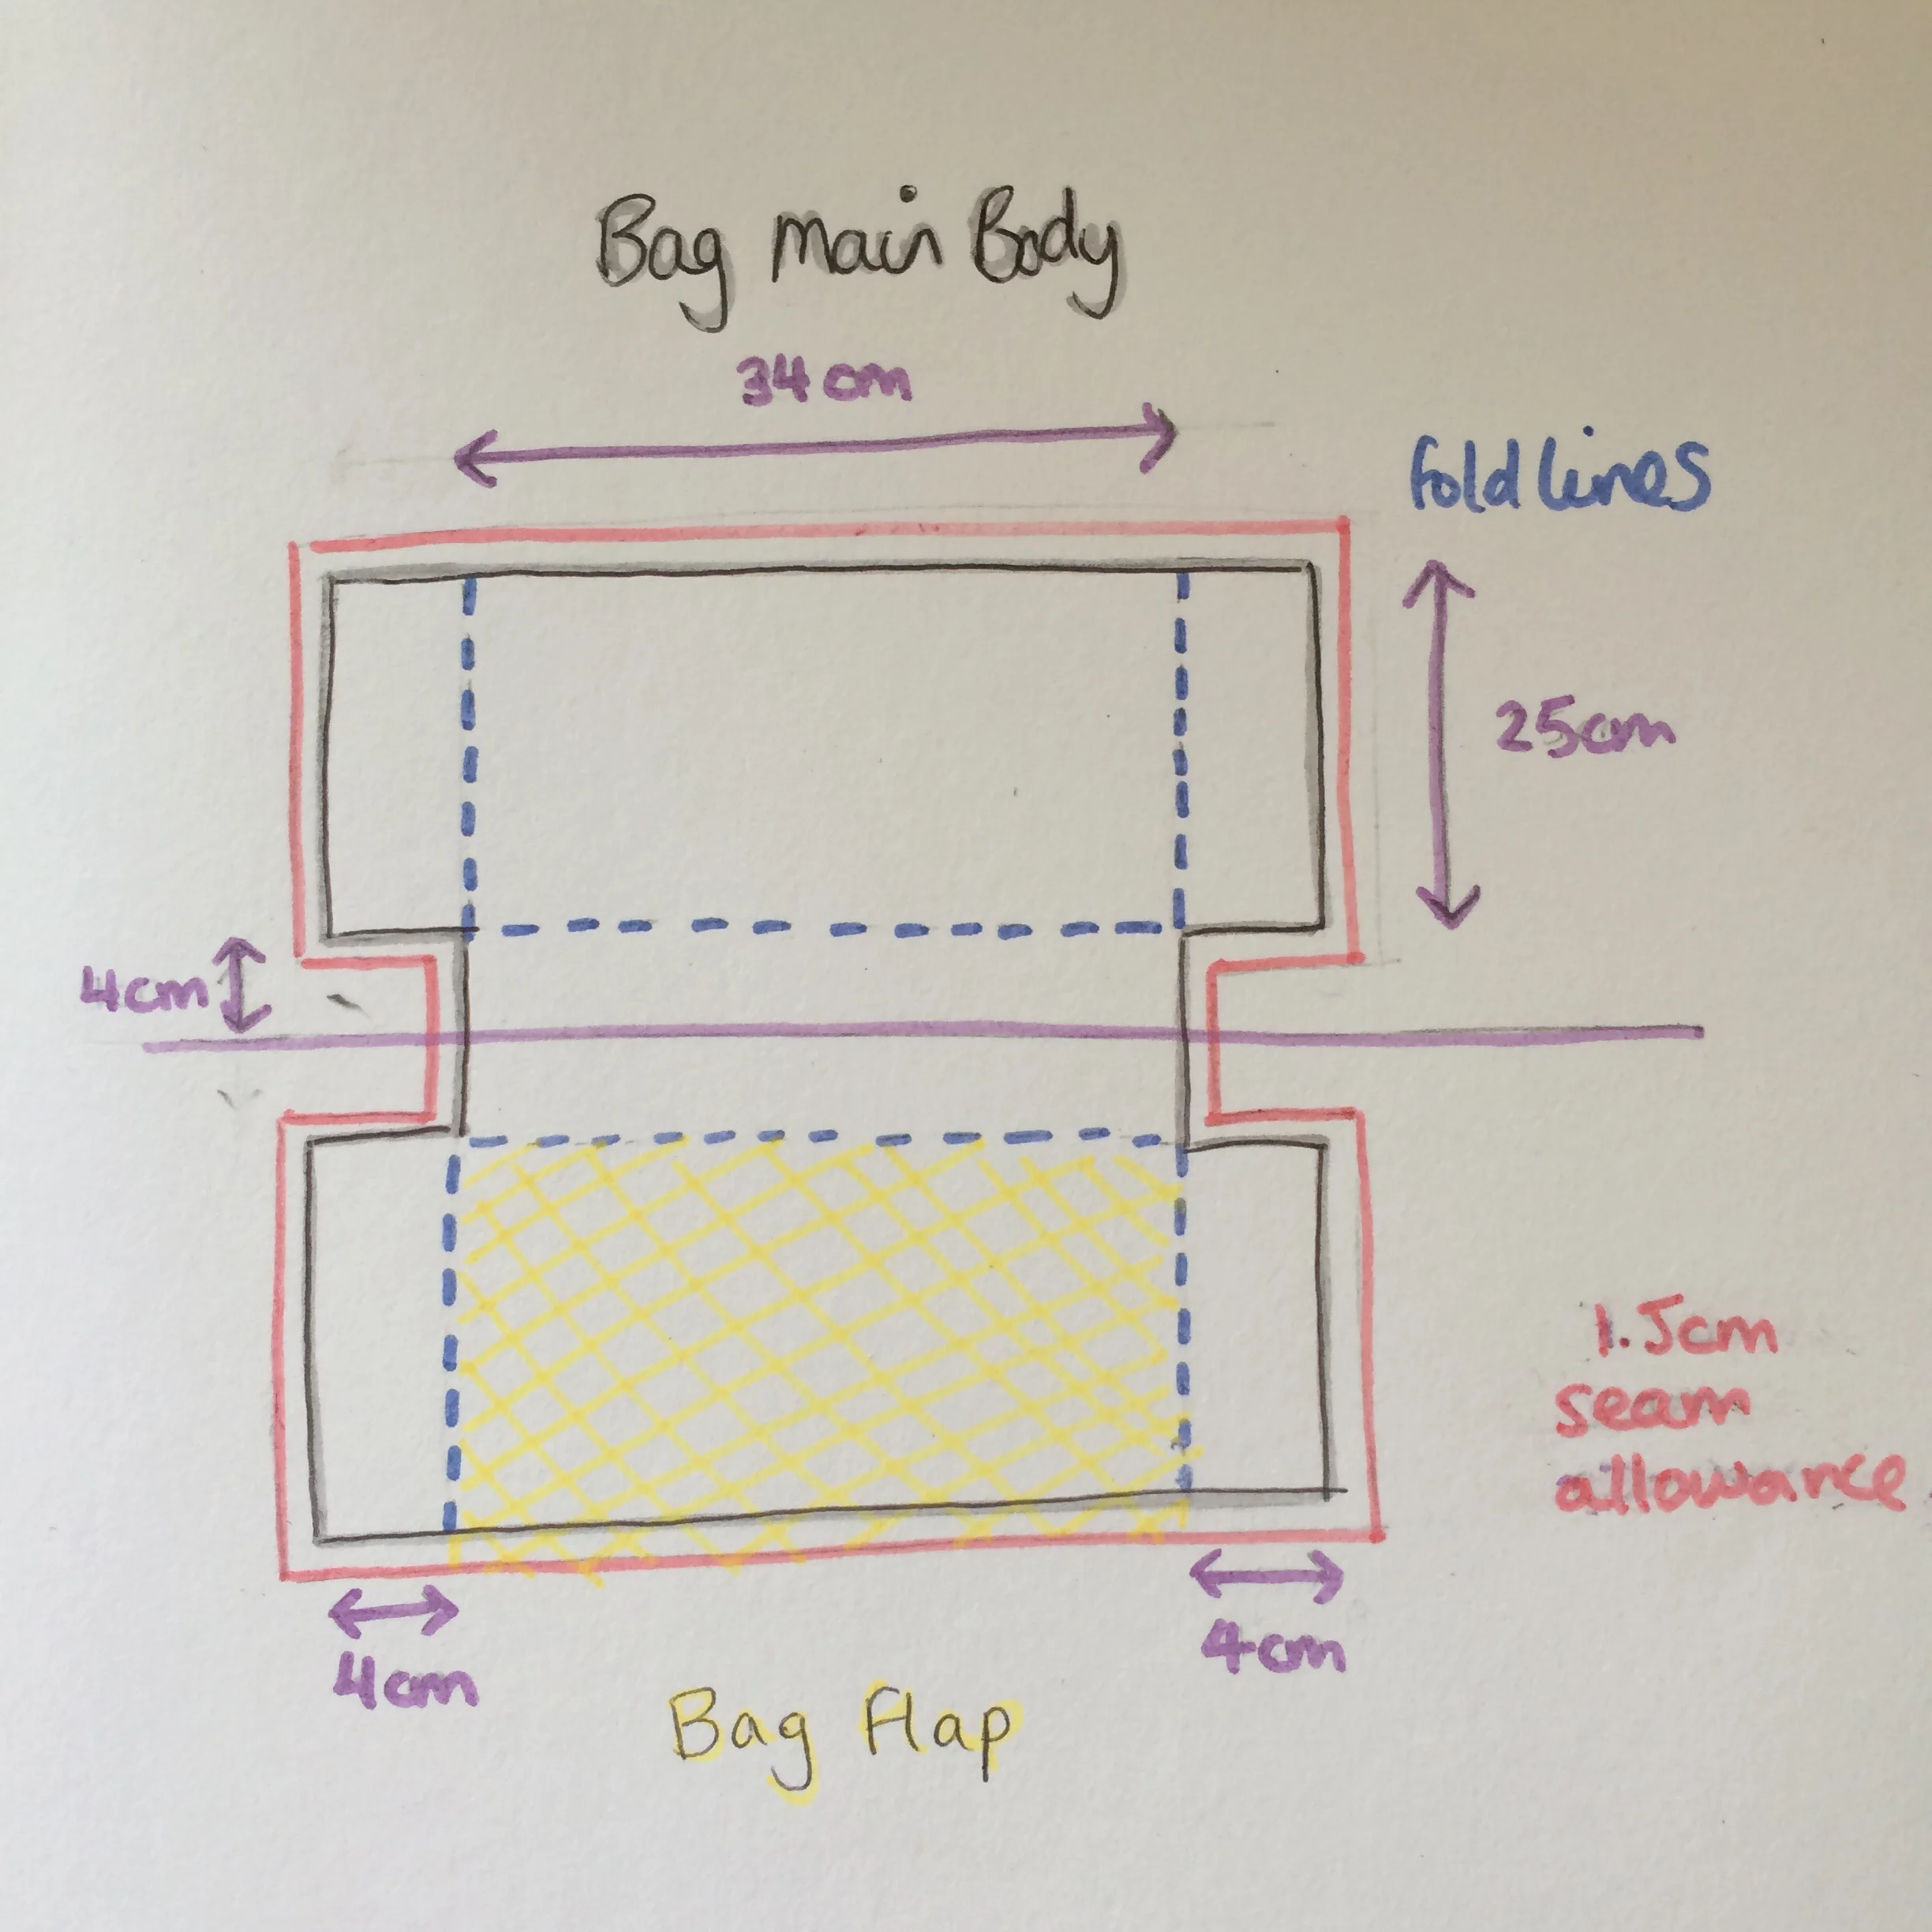
The shape of the bag pattern, showing the measurements of the height and width of the bag; the depth of the gussets; seam allowance and fold lines.

My leather hide cut out to size (flap not shown). I also cut out the same size in the lining and spacer fabric.
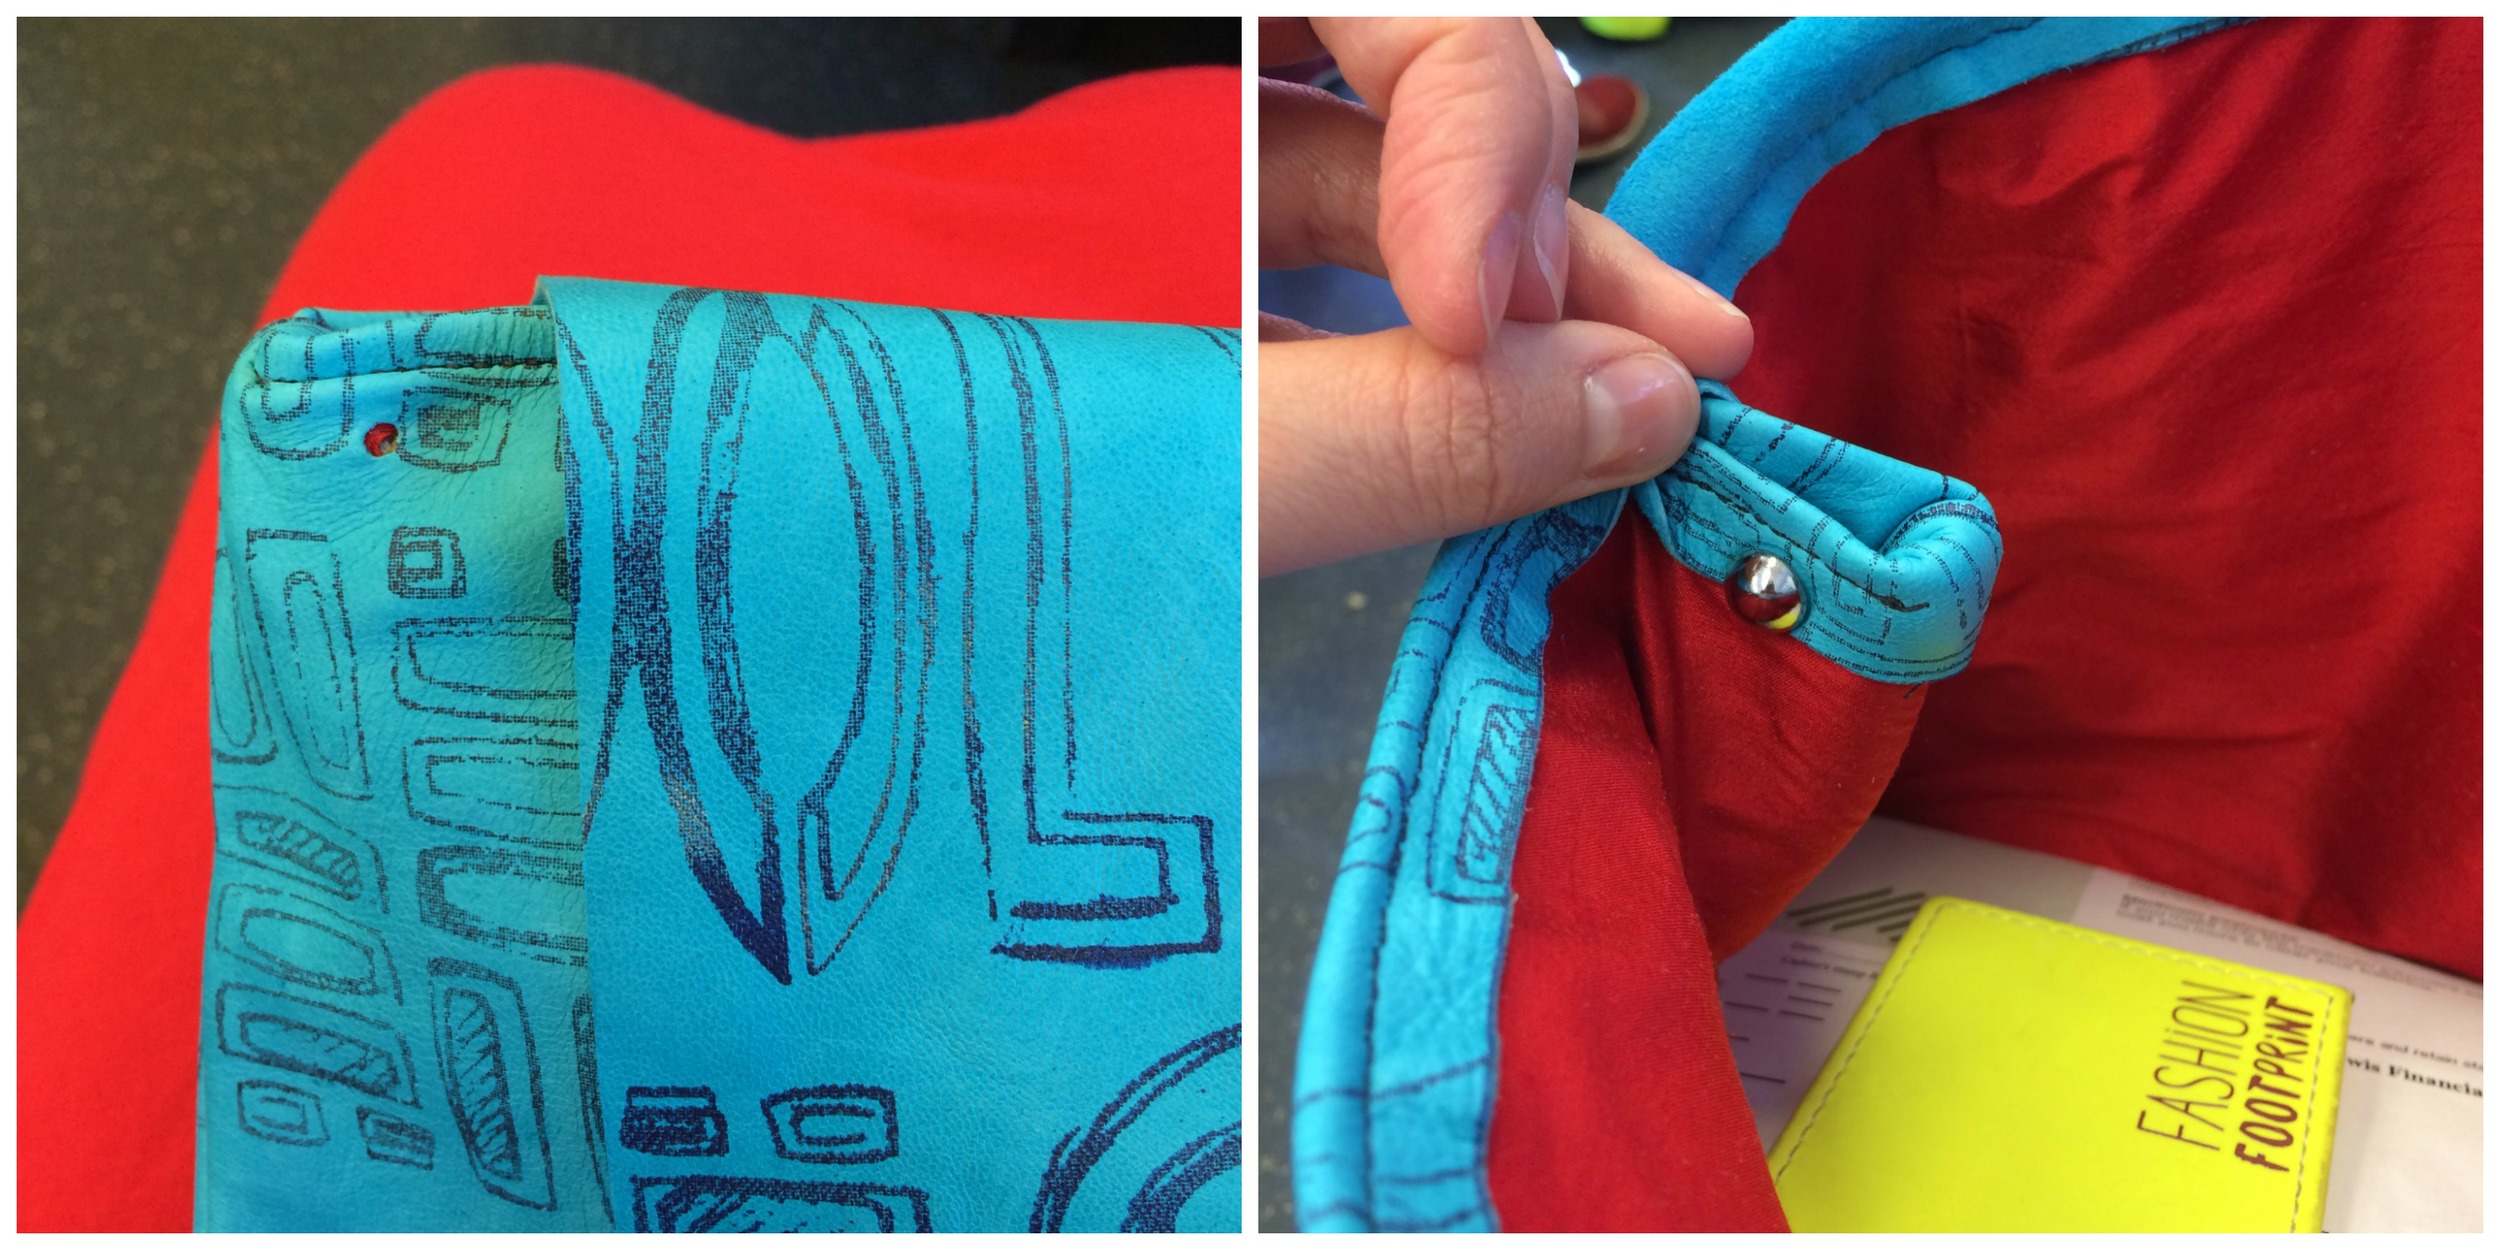
Rivets: before and after. The rivets were carefully positioned to pinch the side gussets inwards to stop them poking out past the edge of the flap.